Table of Contents
Introduction
I just returned from RubyKaigi 2025, which ran from April 16th to 18th at the Ehime Prefectural Convention Hall in Matsuyama. If you're unfamiliar with it, RubyKaigi is the biggest Ruby conference, with over 1,500 people showing up this year. It's always a bit crazy (in the best way possible).
The conference had an orange theme. Ehime is famous for its oranges, and the organizers love bringing local flavor to the event.
What I love most about RubyKaigi is how it bridges the gap between the Japanese and Western Ruby worlds. Despite Ruby coming from Japan, these communities often feel separate in day-to-day work. This weird divide affects not just developers but also businesses. RubyKaigi is where these worlds collide, and you get to meet the people whose code you've used for years.
There's something special about grabbing a beer with someone whose gem you depend on or chatting with Japanese Rubyists you'd never usually interact with online. These face-to-face moments make RubyKaigi different from any other Ruby conference.
Pre-Conference (Day -1 & Day 0)
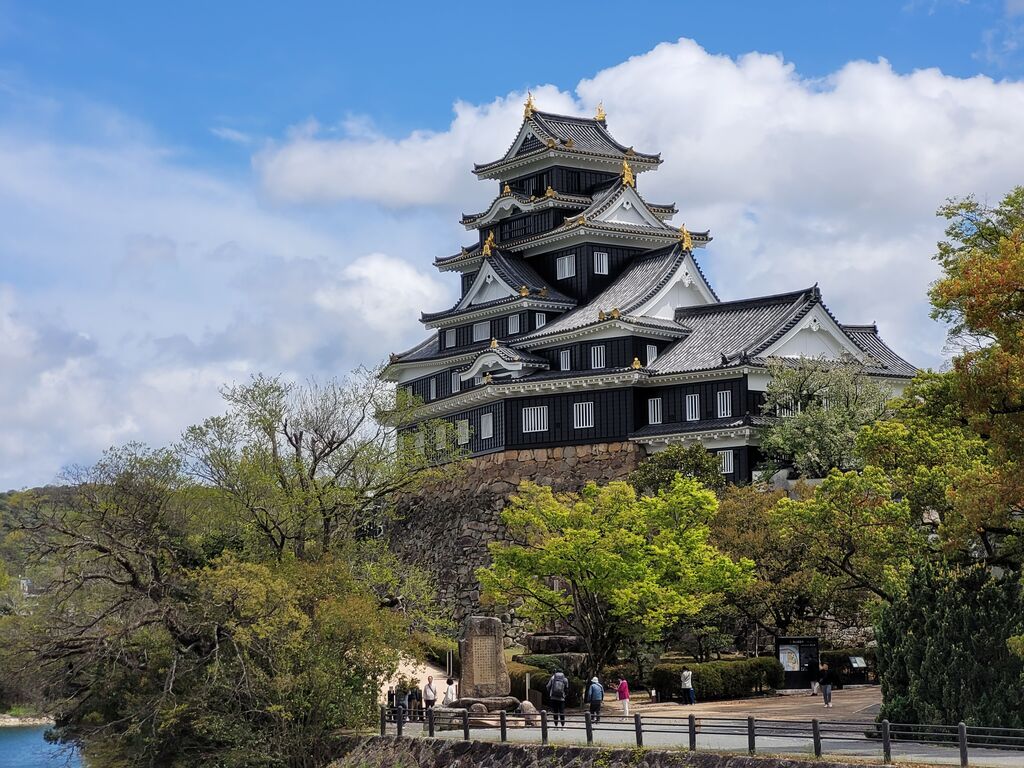
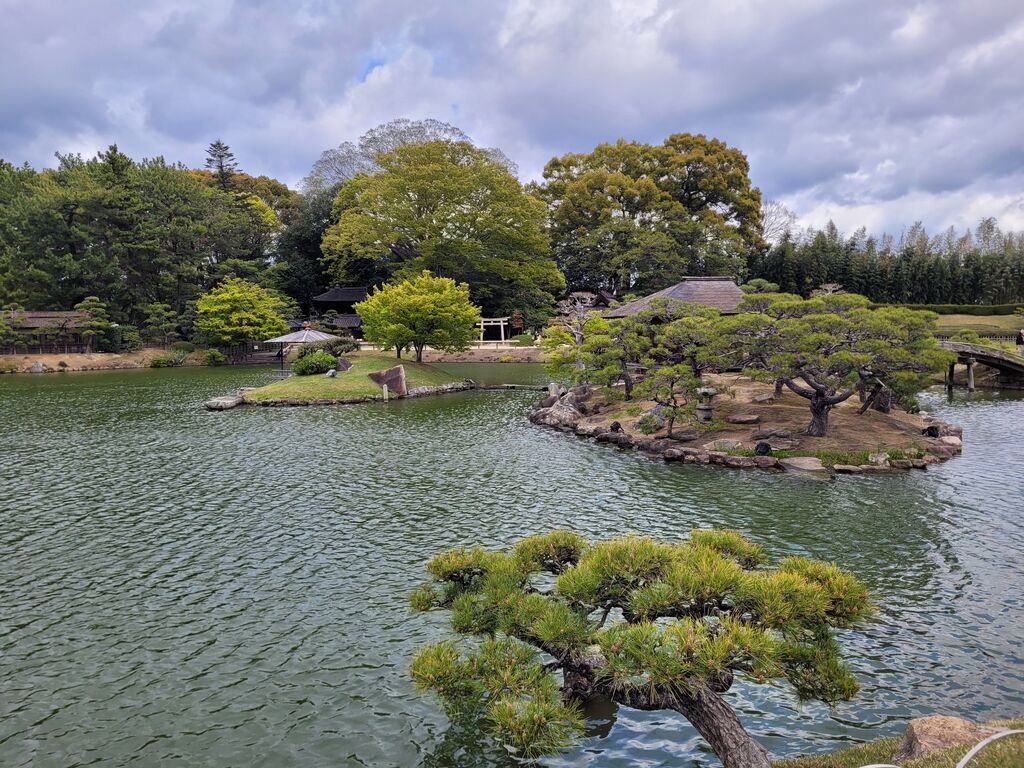
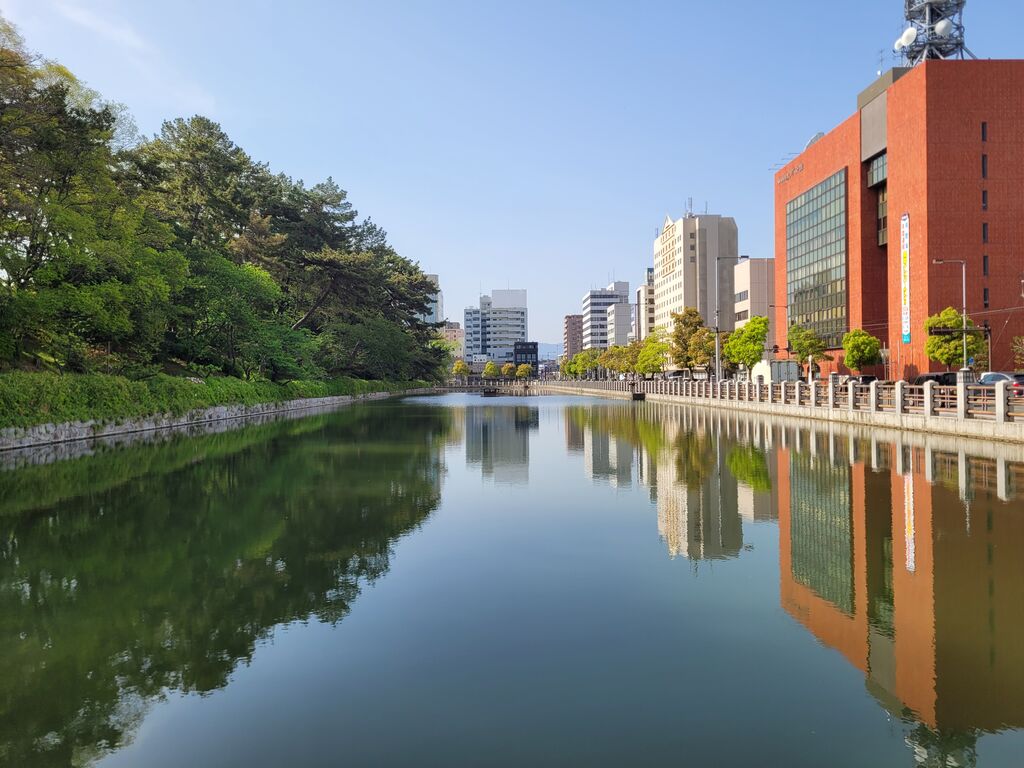
My journey to RubyKaigi was smoother than usual this time. I flew from Cracow, Poland, via Istanbul, which saved me the usual hassle of going to Warsaw first (those extra hours add up!). Instead of the typical route through Tokyo, I flew directly to Osaka - another nice time-saver. On my way to Matsuyama, I stopped in Okayama to check out the castle and the historical garden.
Day 0, for me, was all about the Andpad drinkup welcome party. I got to catch up with Hasumi Hitoshi, my good friend from Japan, along with many other Japanese Rubyists. One of the highlights was meeting the "Agentic Couple" - Justin Bowen and Rhiannon Payne, the creators of Active Agents gem. Little did I know then that I'd spend much more time with them later during some post-conference sightseeing and traveling.
These pre-conference meetups are where some of the best networking happens - everyone's fresh and excited for the days ahead.
The Conference Experience

Day 1 - Talks and Official Party
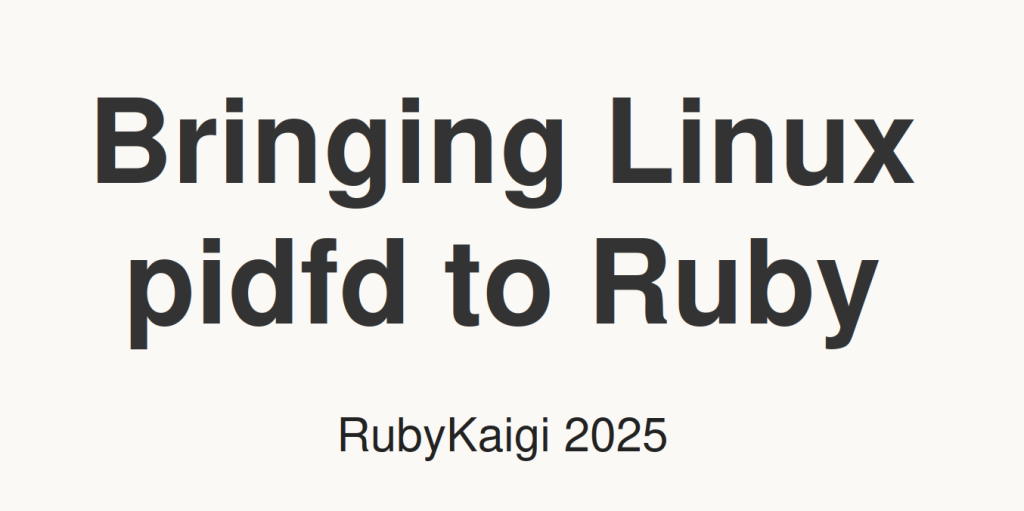
As the first English speaker in my room (rubykaigi-b), I started the day by discussing bringing pidfd to Ruby. It was exciting to present on this topic, which adds better process control functionality to Ruby - something I'm passionate about, given my work with Karafka.
You can find my presentation by clicking the image below or here:
Throughout the day, I attended as many talks as possible. However, people kept grabbing me for discussions (which I wasn't complaining about at all). One standout was Tagomoris's presentation on "State of Namespace." While I'm not exactly a fan of this feature (and he knows that ;) ), I greatly respect Tagomoris. We had a great follow-up discussion where I outlined my security concerns and the changes needed in Bundler and RubyGems. Ultimately, we both agreed that we must work collectively to ensure such changes bring only good to the community.
The day wrapped up with the official party at Shiroyama Park. The organizers had reserved the biggest park in Matsuyama just for us! The beers were excellent, and the atmosphere was exactly what you'd expect from RubyKaigi - relaxed, friendly, and full of interesting discussions. This is where the real magic happens - where Japanese and Western Rubyists mix over drinks and food, breaking down those invisible barriers that usually keep our communities apart.
Day 2 - ZJIT and More Connections
Day 2 was inspiring with Maxime Chevalier-Boisvert's talk about ZJIT - the successor to YJIT. If you're not familiar with Maxime's work, she's the one who won the Ruby Prize in 2021 for her work on optimizing Ruby's performance. Her new project aims to save and reuse compiled code between executions. I strongly believe that JIT for Ruby can do much more than it does now, bringing us to another level of performance.
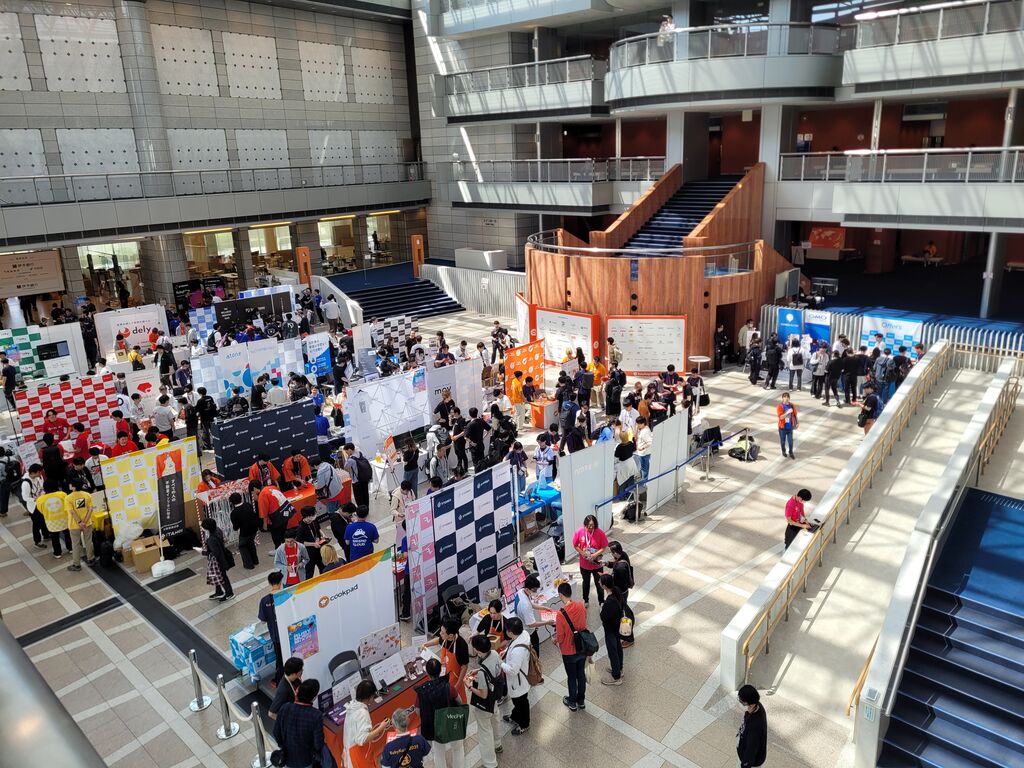
The social aspect continued throughout the day with various company-sponsored events. What's unique about RubyKaigi is that these events aren't just corporate marketing exercises - but genuine opportunities for people to connect. The smaller scale of the sponsor presence this year (compared to having just a few big companies) made things more interesting, with more diverse interactions possible.
Day 3 - Ractor-local GC and Hacking Day
Day 3 brought another technical highlight with Koichi Sasada's talk on Ractor-local GC. Ractors are close to my heart because I want to use them in Karafka. While they are still limited, I feel we're finally making good progress. One of the biggest limitations has been cross-ractor GC. Koichi proposed a two-stage GC where part of GC work could run independently in Ractors while some GC runs would still be locking. He sees this as a practical middle ground that's technically easier to implement than fully independent GCs - his philosophy being that we should have something rather than nothing. This approach could make Ractors much more practical for real-world applications.
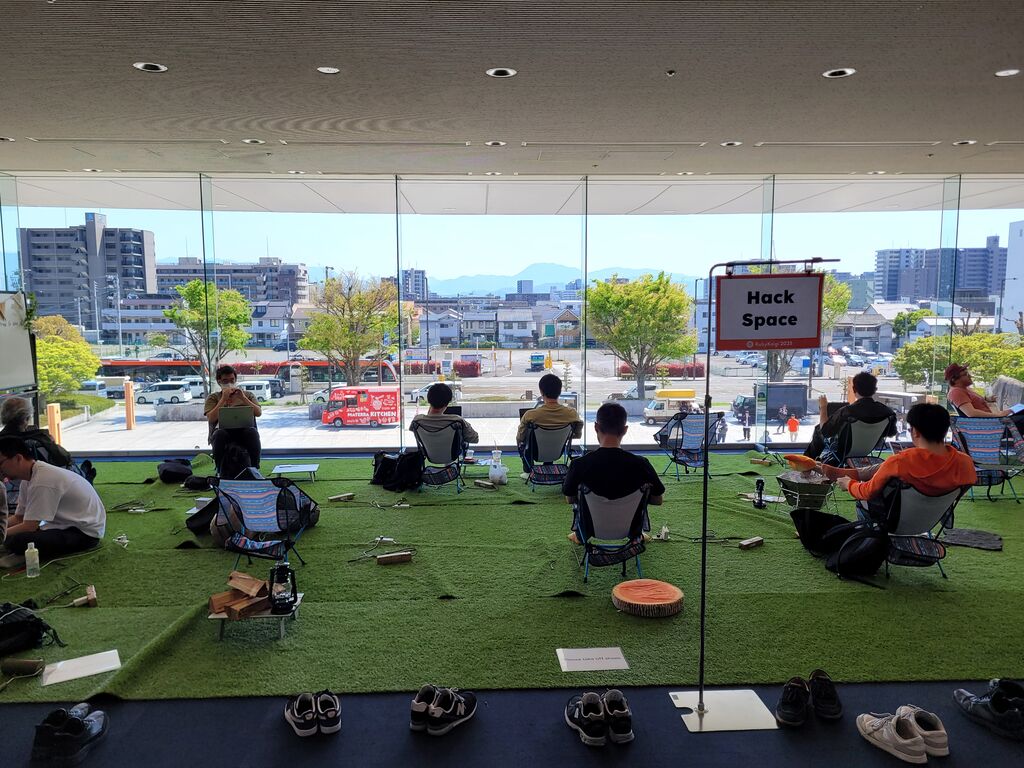
After the official talks, the day continued with a hacking session. This was amazing - so many Ruby core committers were in one room. People split into groups, and everyone worked on something in their interest. I spent my time analyzing the performance of new fixes - specifically improvements to Ractors. The results looked really great, which is the best news for me.
I need to investigate one interesting thing further: when parsing JSON in separate threads, it's about 10% faster than with the baseline, despite Ruby having GVL. That's an unexpected finding that may impact my future Karafka feature development.
The combination of talks and hacking sessions on Day 3 perfectly captured what makes RubyKaigi special - deep technical discussions followed by hands-on collaboration with some of the smartest people in the Ruby community.
Post-Conference Adventures
Days 4-5 - The Unofficial Adventures Begin
The conference officially ended on Day 3, but the real adventure had just begun. Various companies organized smaller events, and I showed up at one of them. On this "unofficial" day, I attended a drink-up sponsored by codeTakt that was super fun - it's always great to talk more Ruby in casual settings.
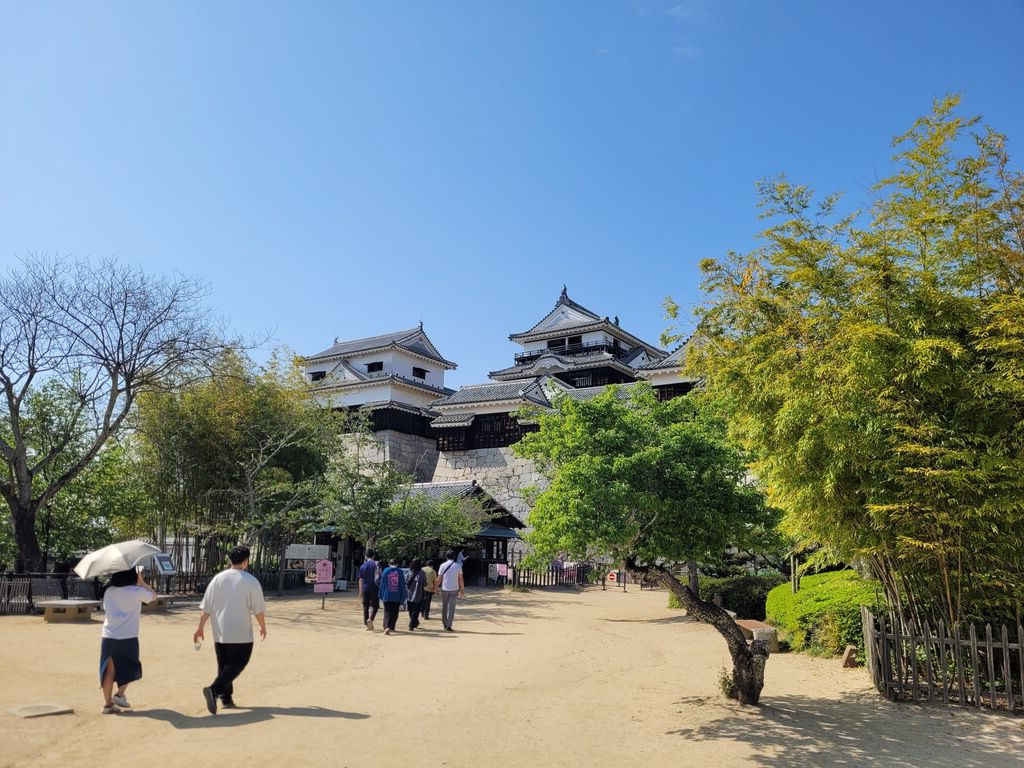
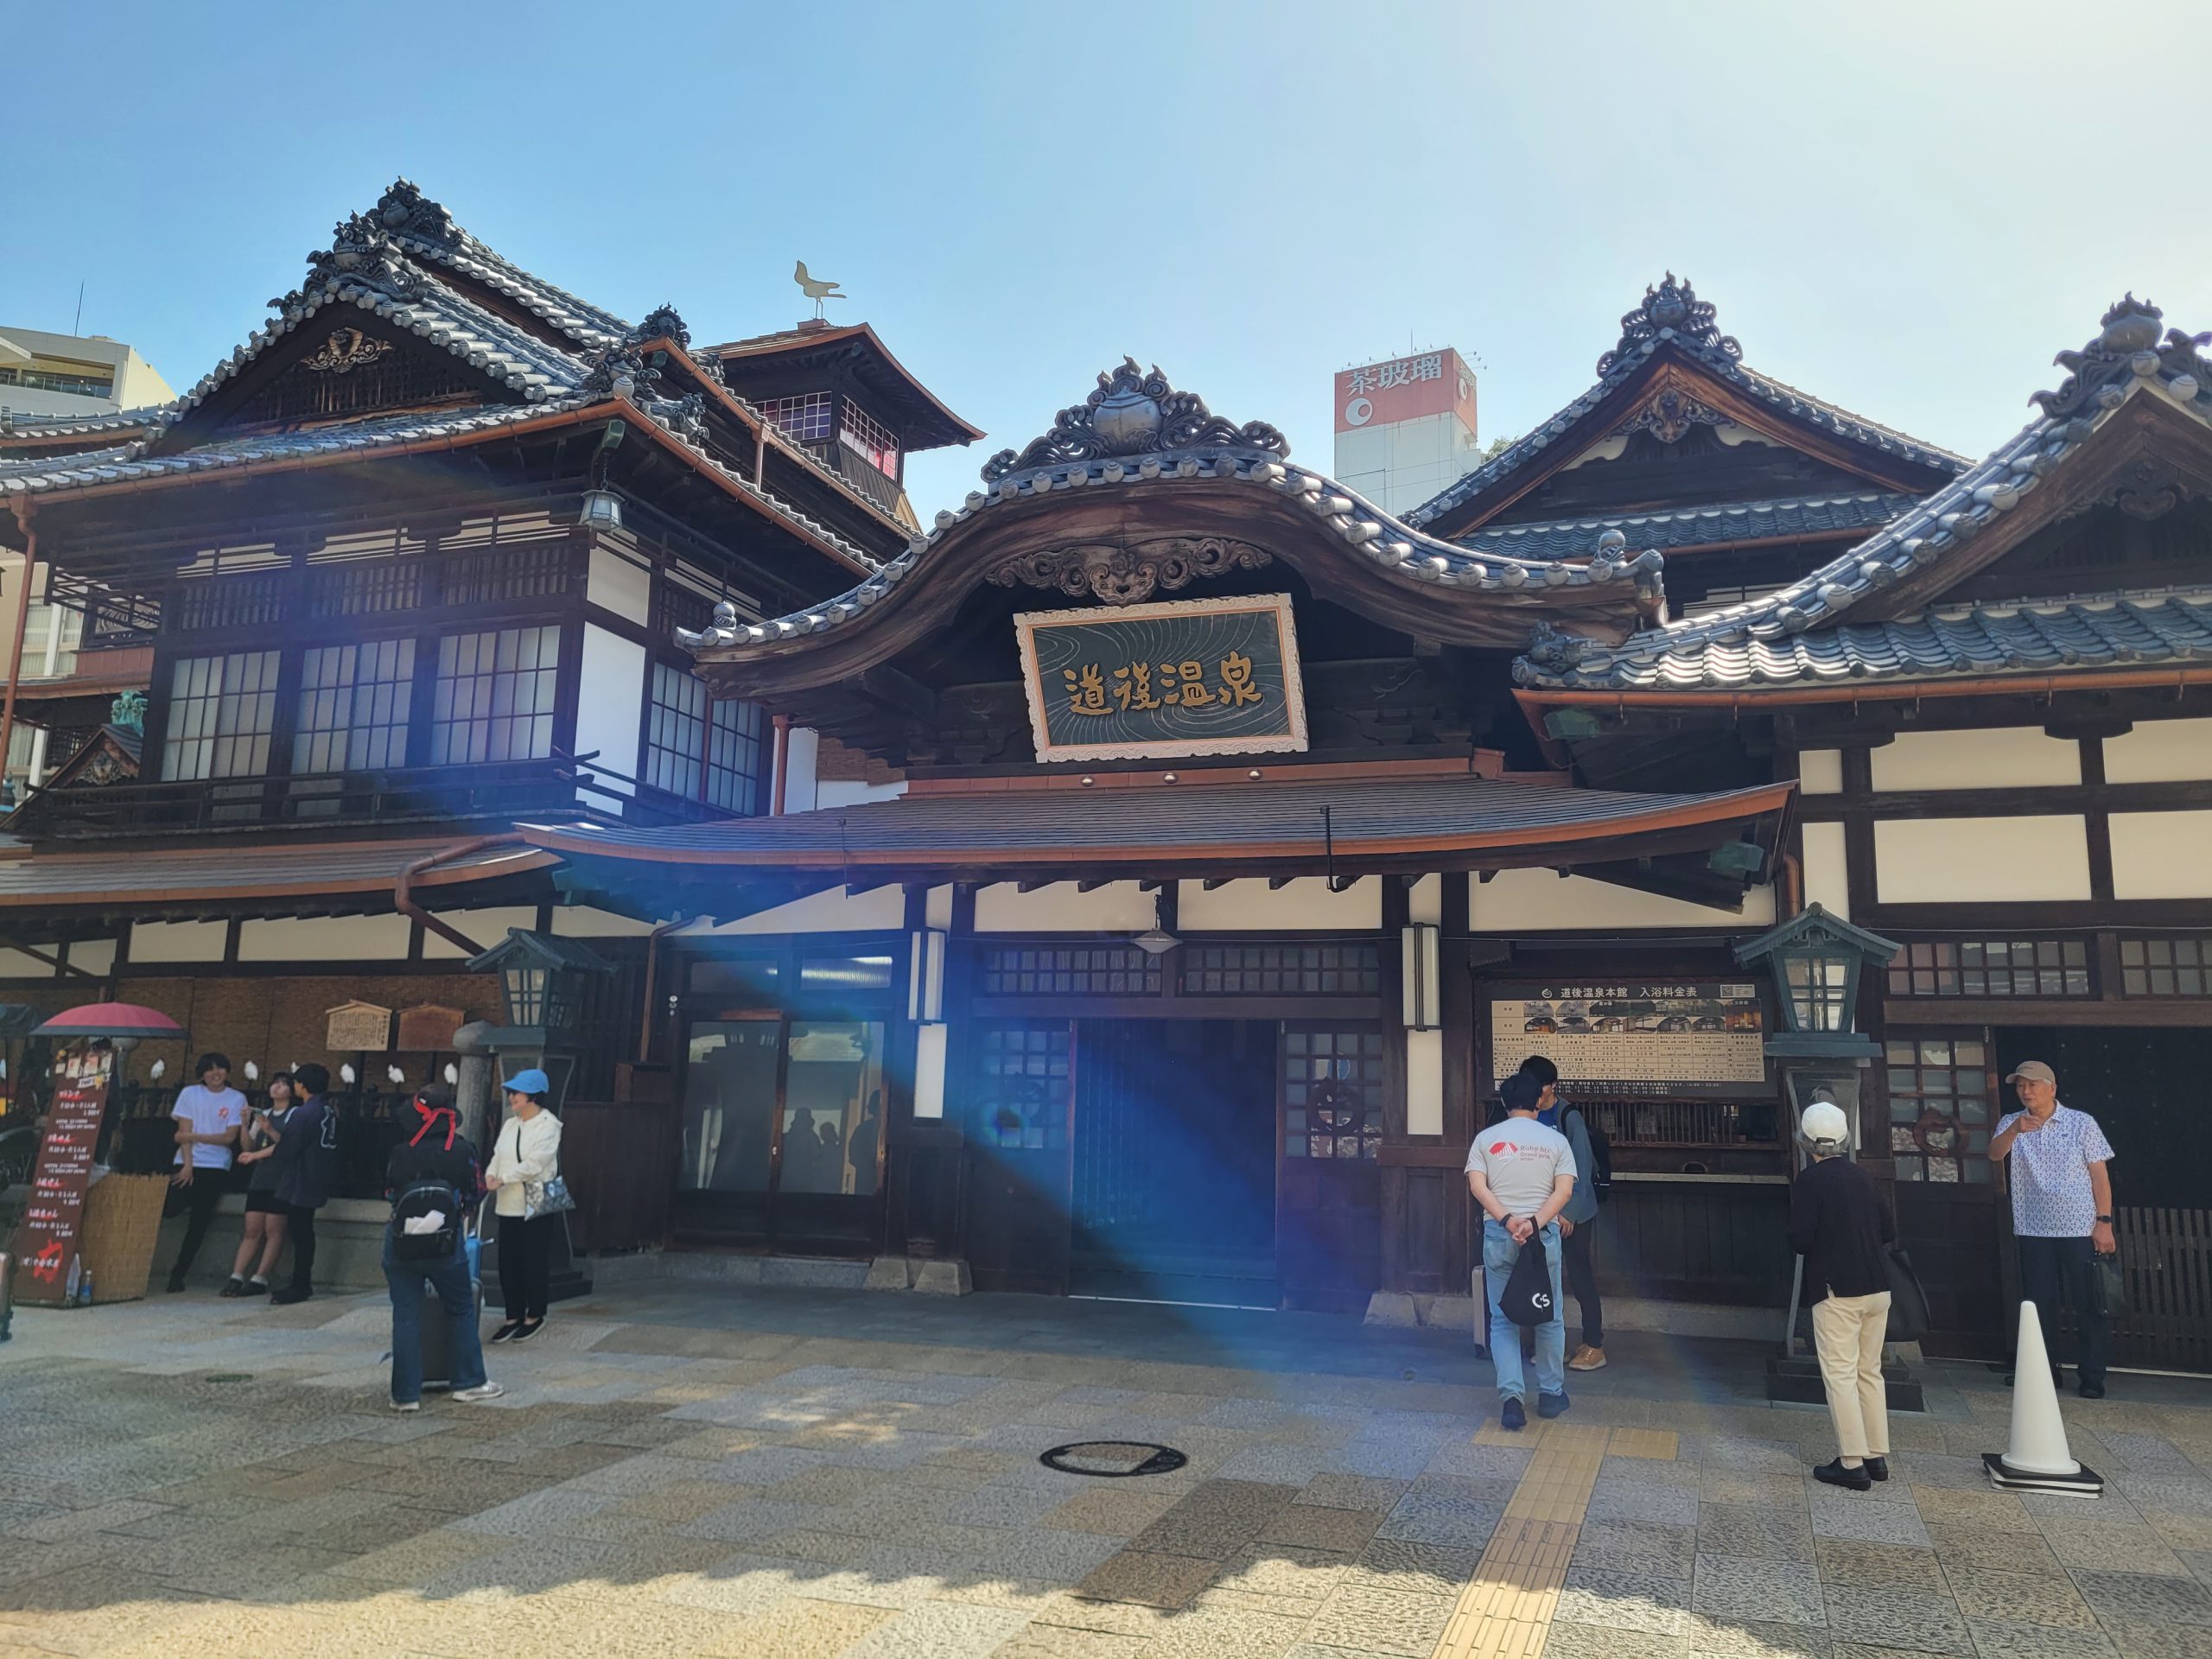
The next morning, I started Day 5 with a relaxing session at Dogo Onsen, one of Japan's oldest hot springs. Later, I did some sightseeing around Matsuyama and found a house that looked surprisingly similar to mine - just the Japanese version! I met up with Peter Zhu, and we went to visit some shrines. He collected goshuin (temple stamps) along the way. Later that day, I connected with other RubyKaigi attendees, including Marty Haught from RubyCentral, and we explored Matsuyama Castle together.
Day 6 - The Shimanami Kaido Adventure
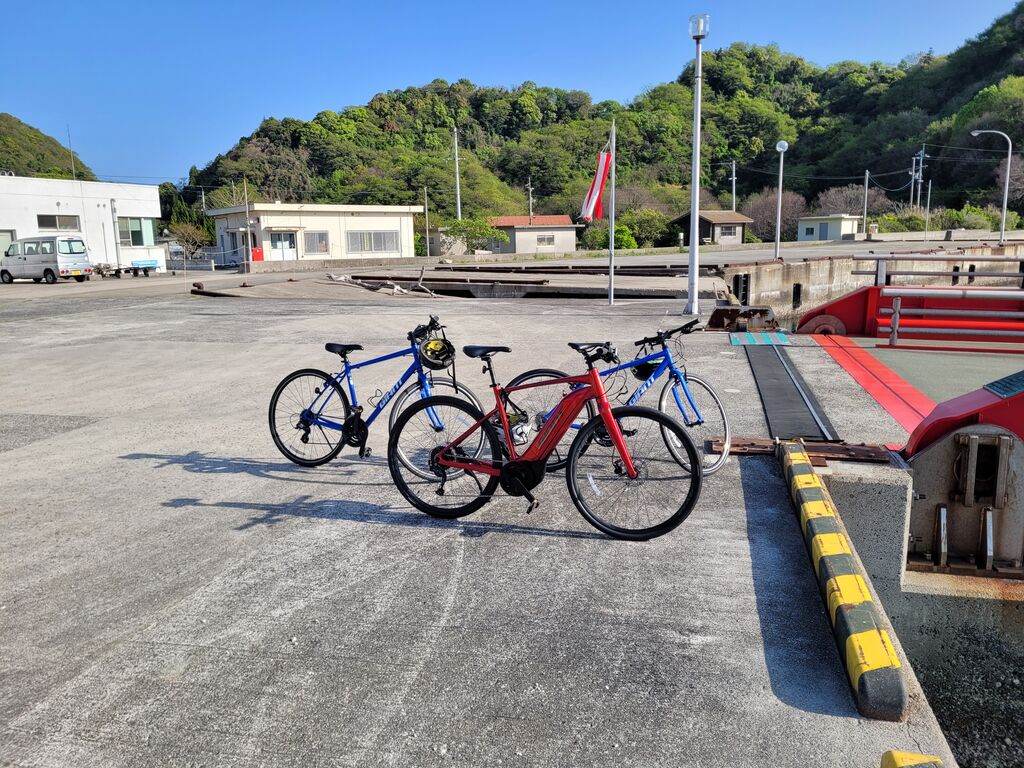
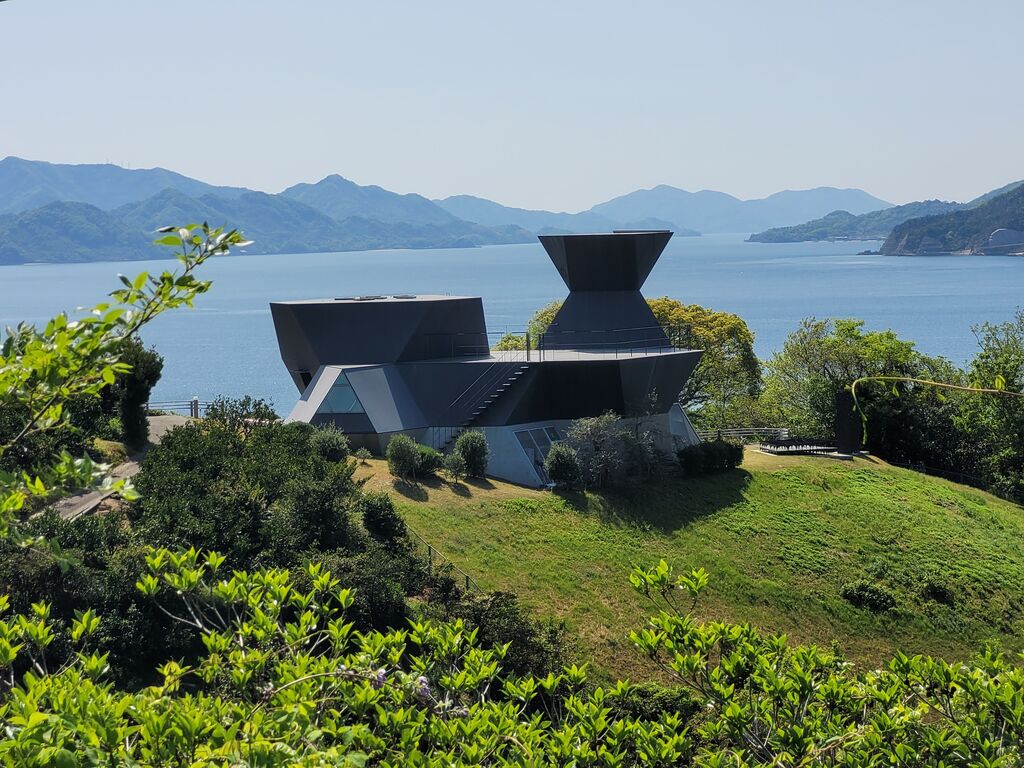
One of the most memorable parts of my extended trip was the Shimanami Kaido bicycle tour with Marty and Justin, whom I'd met at the Day 0 Andpad event. The Shimanami Kaido is a famous cycling route that connects several islands via bridges and is located about an hour from Matsuyama.
We covered 60km in one day, which was a lot but totally worth it. Things got interesting when we left the main track to see some temples and head to a port. That's when we discovered there were no immediate direct ferries back to our starting point from where we ended up.
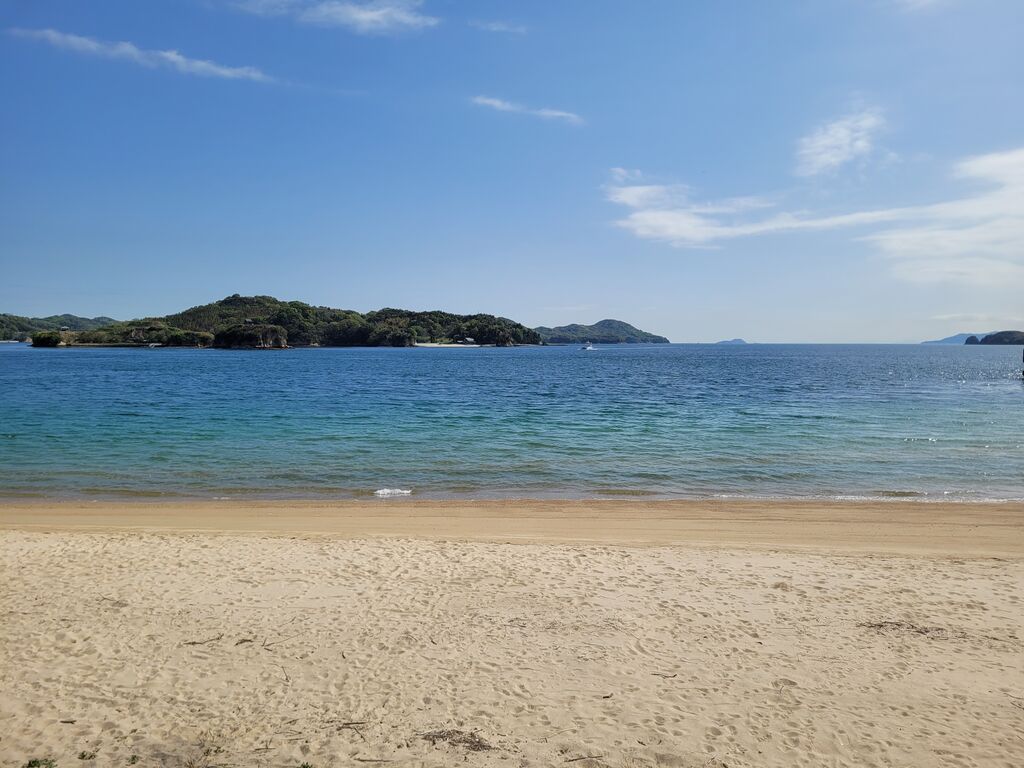
Google Maps saved the day by suggesting we hop to a small island called Oge (大下島). This tiny island has maybe 500 residents, mostly elderly people. We were the only visitors and spent about 45 minutes experiencing life on such a remote Japanese island. The whole detour was one of the craziest things we did. Still, it perfectly showed the spirit of unexpected adventure that makes these post-conference trips so memorable.
The entire cycling route was amazing. The bridges, the sea views, the small island communities - everything was incredible. I highly recommend it to anyone visiting the area after RubyKaigi.
Reflections and Why RubyKaigi Matters
Reflecting on my time in Matsuyama, what I notice most about RubyKaigi isn't just the great talks - those you can watch later on YouTube. The unique atmosphere and connections make this conference stand out from any other tech event I've attended.
RubyKaigi is great at bridging what I see as an unnecessarily isolated divide between the European-American Ruby scene and the Japanese one. This isolation creates real challenges for collaboration and, to some extent, leads to Japanese businesses operating separately from the global Ruby ecosystem. Many Japanese developers use RubyKaigi as a rare opportunity to practice their English and connect with the broader community despite their excellent technical writing skills.
I particularly appreciate how the conference keeps a real, technical-friendly vibe rather than feeling commercial. Unlike some conferences dominated by a few large corporate sponsors, RubyKaigi had many smaller sponsors, creating a more diverse and balanced environment. While I noticed fewer Western companies represented at the sponsor booths (Sentry was there, and maybe two others), this actually added to the conference's unique feel.
The fact that many attendees arrive days early and leave days later makes the event more than just a conference - it becomes something more meaningful. People treat their trip to Japan as part of their vacation and part of their professional development. This extended timeframe allows for deeper connections and more relaxed sightseeing. Matsuyama's calmer atmosphere compared to Tokyo, Osaka, or Sendai adds to this appeal - despite the tourist presence, the scale feels more manageable and peaceful.
From an organizational standpoint, RubyKaigi is in a class of its own. I've never attended another conference so well-organized and thoughtfully executed. It's an amazing event that I highly recommend to anyone wanting technical knowledge and meaningful connections with the global Ruby community. This conference never fails to remind me why I fell in love with Ruby and its community in the first place.
Summary and Final Thoughts
Looking back at my RubyKaigi 2025 experience, I realize how Japan continues to be remarkably generous with opportunities for unexpected connections. Each time I visit, I meet people I would never encounter otherwise - and often, they're not even from the IT world.
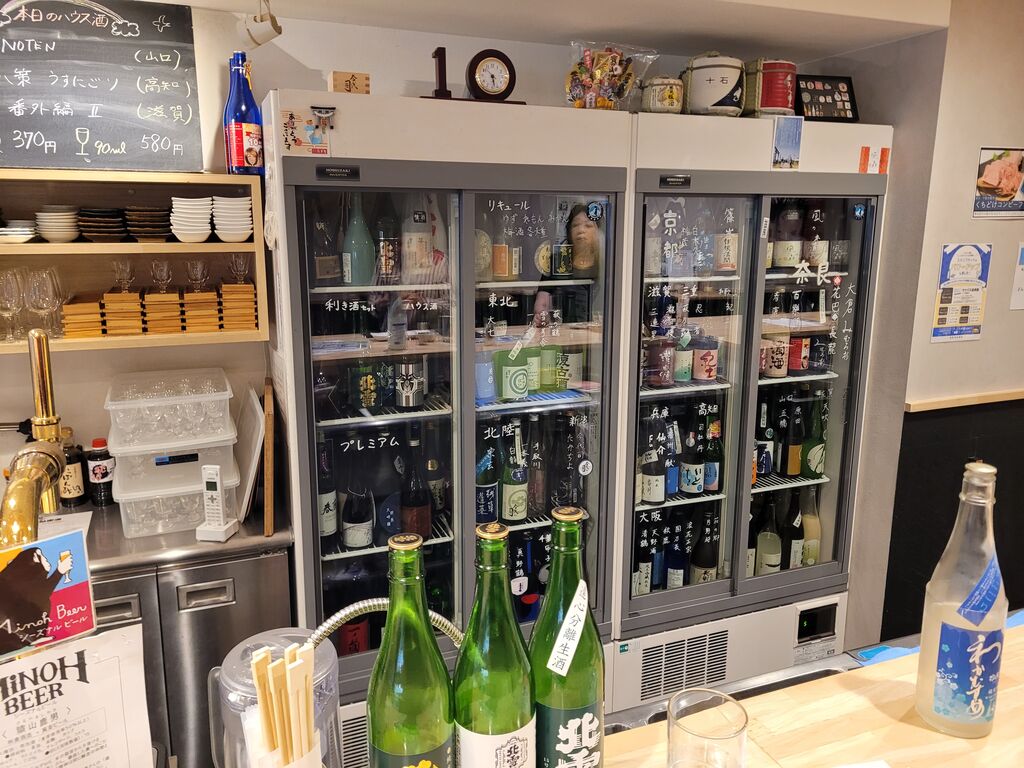
In Osaka, at a sake place recommended by fellow conference attendees, I had a memorable two-hour conversation with a retired man in his 70s. Despite his age, he was incredibly sharp and actively attended English school specifically to meet more people from around the world. These encounters show what makes Japan - particularly RubyKaigi - so special.
The conference itself remains the best Ruby event worldwide, not just for its technical content but for its unique ability to bridge communities. Excellent organization, meaningful international connections, and Japan's unique hospitality create an experience far beyond a typical tech conference. Whether cycling the Shimanami Kaido, exploring tiny islands, or simply sharing a beer with developers whose code you use daily, RubyKaigi offers something truly special.
I'm already looking forward to RubyKaigi 2026. If you've never been, start planning now - this conference is worth every mile traveled.