Table of Contents
- 1 If you think about getting this laptop, pick something else
- 2 Introduction
- 3 Touchpad and Trackpoint under Linux
- 4 low cTDP and trip temperature in Linux
- 5 CPU undervolting
- 6 Battery charging thresholds
- 7 Custom battery monitor / indicator
- 8 Too small (or too big) letters for WQHD resolution
- 9 HD (not WQHD) external monitor support
- 10 High pitched noise when using USB headphones with docking station
- 11 Unobtrusive mode
- 12 Summary
If you think about getting this laptop, pick something else
Here's an "after 1 month" summary without a happy ending.
Lenovo ThinkPad X1 Carbon (6th Gen / 2018) review – Sad story of a potentially great ultrabook
Introduction
Warning: I’m not responsible for any damages or injury, including but not limited to special or consequential damages, that result from your use of this instructions.
Yesterday I've finally received my new Lenovo ThinkPad X1 Carbon 6 gen laptop. I cannot say anything bad about the hardware. It fits exactly into my needs and requirements. Unfortunately, there are some flaws when used with Linux (Ubuntu in my case). Here are some hints on how to make things better.
Touchpad and Trackpoint under Linux
This is the most irritating issue that you will encounter.
Note: Try the first solution presented here first. If it doesn't help, fallback to the general solution.
Solution working with Kernel 4.17.1-041701-generic
Note: with this solution you may loose the "tap to click" functionality from time to time (until a reboot).
- Edit the /etc/modprobe.d/blacklist.conf file and comment out following line:
# This line needs to be commented out
# blacklist i2c_i801
- Edit the /etc/default/grub file and change this line:
GRUB_CMDLINE_LINUX_DEFAULT="quiet splash"
to
GRUB_CMDLINE_LINUX_DEFAULT="quiet splash psmouse.synaptics_intertouch=1"
- Run following command:
sudo update-grub
- Install xserver synaptics:
sudo apt-get install xserver-xorg-input-synaptics
- Execute following command (not sure if needed):
# You may want to add it to your .bashrc to make it work after reboot
synclient TapButton1=1 TapButton2=3 TapButton3=2
- Reboot
Old general solution
If you have a touchpad with NFC you may observe following behaviors:
- it may not detect movements,
- won't work with tap-to-click,
- will occasionally wake up for a couple of seconds and will stop working again.
Unfortunately for this moment, you will have to disable trackpoint to make it work.
Here are the steps you need to follow.
Note: I'm mentioning also things you should not do just in case you've followed other instructions that didn't work.
- Disable trackpoint in the BIOS settings.
- Disable NFC in the BIOS settings.
- Don't disable trackpad in the BIOS settings (or enable it if you did) - this will make your touchpad embedded buttons work.
- You don't have to use psmouse.synaptics_intertouch=1 at all for GRUB (no GRUB changes) and if you've applied this change, please revert it as followed:
GRUB_CMDLINE_LINUX_DEFAULT="quiet splash"
- Don't remove i2c_i801 from /etc/modprobe.d/blacklist.conf (it needs to be present and uncommented).
- Install the 4.17.0-41770rc5-generic (or newer) Linux kernel from the mainline based on the instructions presented below.
- Reboot your system with the new Kernel.
- Be happy with your working touchpad with the bottom physical buttons.
Installing the mainline kernel
- Go here: http://kernel.ubuntu.com/~kernel-ppa/mainline/
- Download all the files for a selected kernel version from the Build for amd64 group except those with the lowlatency in their name. For me that was 4 files overall.
- Open a terminal and go to the location where you've downloaded the files.
- Run following command:
sudo dpkg -i *.deb
- Reboot.
low cTDP and trip temperature in Linux
This problem is related to thermal throttling on Linux, that is set much below the Windows values. This will cause your laptop to run much slower than it could under heavy stress.
Before you attempt to apply this solution, please make sure that the problem still exists when you read it. To do so, open a Linux terminal and run following commands:
sudo apt-get install msr-tools
sudo modprobe msrsudo
sudo rdmsr -f 29:24 -d 0x1a2
If you see 3 as a result value (or 15 when running on battery), you don't have to do anything. Otherwise:
- Disable Secure Boot in the BIOS (won't work otherwise)
- Run this command:
sudo apt install git virtualenv build-essential python3-dev \
  libdbus-glib-1-dev libgirepository1.0-dev libcairo2-dev
- Clone this git repository and enter it:
git clone https://github.com/erpalma/lenovo-throttling-fix.git
cd lenovo-throttling-fix/
- Install the patches:
sudo ./install.sh
- Check again, that the result from running the rdmsr command is 3
Personally, I use a bit lower temperature levels to preserve battery life in favor of performance. If you want to change the default values, you need to edit the /etc/lenovo_fix file and set the Trip_Temp_C for both battery and AC the way you want:
[BATTERY]
# Other options here...
PL2_Tdp_W: 40
Trip_Temp_C: 75

[AC]
# Other options here...
PL1_Tdp_W: 34
PL2_Tdp_W: 40
Trip_Temp_C: 90
CPU undervolting
The amazing Lenovo Throttling fix script supports also the undervolting. To enable it, please edit the /etc/lenovo_fix.conf again and update the [UNDERVOLT] section. In my case, this settings proven to be stable:
[UNDERVOLT]
# CPU core voltage offset (mV)
CORE: -110
# Integrated GPU voltage offset (mV)
GPU: -90
# CPU cache voltage offset (mV)
CACHE: -110
# System Agent voltage offset (mV)
UNCORE: -90
# Analog I/O voltage offset (mV)
ANALOGIO: 0
Battery charging thresholds
There are a lot of theories and information about ThinkPad charging thresholds. Some theories say thresholds are needed to keep the battery healthy, some think they are useless and the battery will work the same just as it is. In this article I will try not to settle that argument. 🙂 Instead I try to tell how and why I use them, and then proceed to show how they can be changed in different versions of Windows, should you still want to change these thresholds.
Description taken from: ThinkPad battery charging thresholds (for Windows).
I always stick with following settings for my laptops (and somehow I feel that it works):
- Start threshold: 45%
- Stop threshold: 75%
This means that the charging will start only if the battery level goes down below 45% and will stop at 75%. This prevents battery from being charged too often and from being charged beyond a recommended level.
To achieve this for Linux based machines you need to install some packages by running:
sudo apt-get install tlp tlp-rdw acpi-call-dkms tp-smapi-dkms acpi-call-dkms
After that just edit the /etc/default/tlp file and edit following values:
# Uncomment both of them if commented out
START_CHARGE_THRESH_BAT0=45
STOP_CHARGE_THRESH_BAT0=75
Reboot, run:
sudo tlp-stat | grep tpacpi-bat
and check if the values are as you expect:
tpacpi-bat.BAT0.startThreshold          = 45 [%]
tpacpi-bat.BAT0.stopThreshold           = 75 [%]
Note, that if you need to have your laptop fully charged, you can achieve that by running following command while connected to AC:
tlp fullcharge
Custom battery monitor / indicator
As you've probably already noticed, I really like keeping my laptop batteries in a good shape. It's much easier, when you are aware of the state in which the battery is. Especially when it goes below 25% (as it is unhealthy for it). To get this type of notifications, you can just install the battery monitor app:
sudo add-apt-repository ppa:maateen/battery-monitor -y
sudo apt-get update
sudo apt-get install battery-monitor -y
Due to a bug in Gnome, it's initial message after startup won't dissapear by itself and you need to close it each time you start Ubuntu. To eliminate that problem, edit the /usr/share/battery-monitor/config.py file and make it look like this (first message needs to be commented out):
MESSAGES = {
#    "success": (
#        u"Battery Monitor",
#        u"Cheers! Your battery is being monitored now."
#    ),
after that reboot the system and the app will start automatically.
Too small (or too big) letters for WQHD resolution
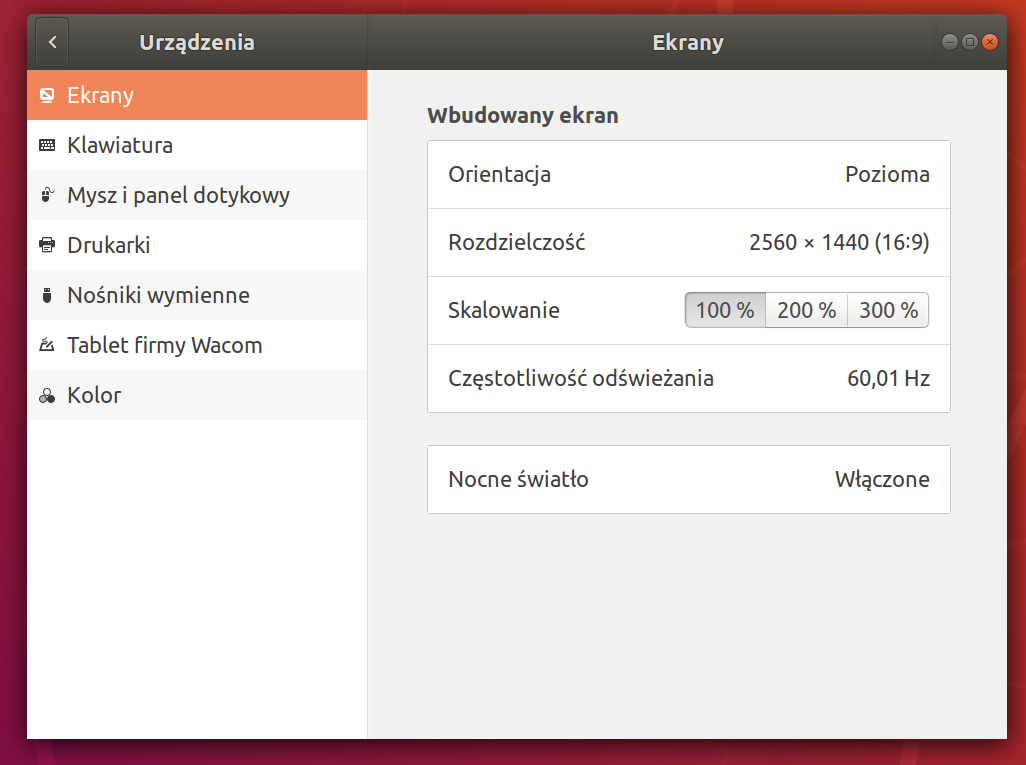
If you've got yourself Carbon version with the WQHD screen, you may notice that everything is extremely big (or super small). That's because of the scaling factor. Unfortunately, you cannot use fractional scaling (more details here), which means that you'll end up either with everything being super small (100%) or super large (200%).
Luckily for you, there's an easy way out.
Settings things from the console
Just run following commands:
gsettings set org.gnome.desktop.interface text-scaling-factor 1.5
gsettings set org.gnome.nautilus.icon-view default-zoom-level standard
gsettings set org.gnome.desktop.interface cursor-size 32
gsettings set org.gnome.shell.extensions.dash-to-dock dash-max-icon-size 64
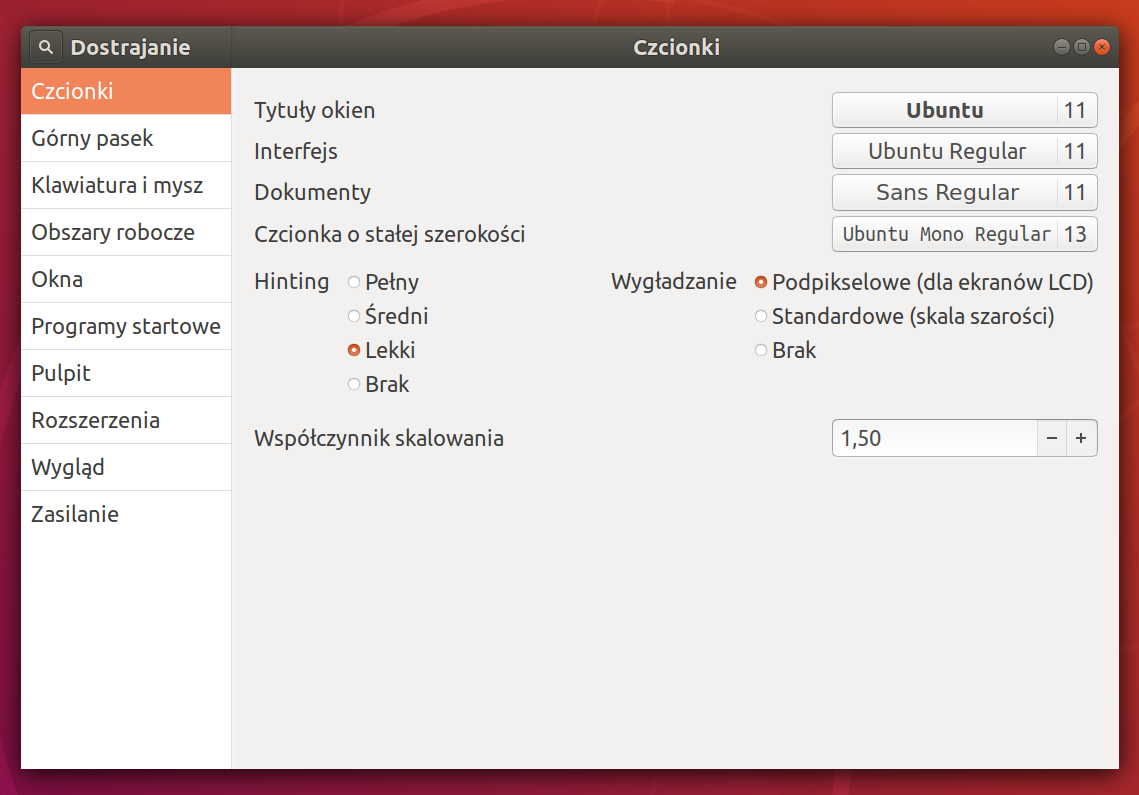
Settings things using UI interface (Gnome-Tweak-Tools)
Install Gnome-Tweak-Tools as followed:
sudo apt-get install gnome-tweak-tool
run it and set the Font Scaling Factor to 1,50.
HD (not WQHD) external monitor support
If you've used my scaling solution presented above everything will work great until you connect to an external screen with a lower resolution than a native WQHD. In that case, everything will be enormous. To bypass that, you can add this script into your Ubuntu startup programs. It will automatically detect an external screen with a lower resolution and will adapt all the scaling options (as long as connected during startup).
#!/bin/bash

xrandr --query  | grep ' connected' | grep 1920 > /dev/null
result=$?

if [ $result -ne 0 ]; then
  # WQHD
  gsettings set org.gnome.desktop.interface text-scaling-factor 1.5
  gsettings set org.gnome.nautilus.icon-view default-zoom-level standard
  gsettings set org.gnome.desktop.interface cursor-size 32
  gsettings set org.gnome.shell.extensions.dash-to-dock dash-max-icon-size 64
else
  # HD
  gsettings set org.gnome.desktop.interface text-scaling-factor 1.0
  gsettings set org.gnome.nautilus.icon-view default-zoom-level small
  gsettings set org.gnome.desktop.interface cursor-size 24
  gsettings set org.gnome.shell.extensions.dash-to-dock dash-max-icon-size 48
fi
High pitched noise when using USB headphones with docking station
Took me a while to fix that one. You need to edit the /etc/pulse/default.pa file and disable the module-suspend-on-idle module:
### Automatically suspend sinks/sources that become idle for too long
# The line below needs to be commented out
# load-module module-suspend-on-idle
After a reboot, the pitched noise should no longer be present.
Unobtrusive mode
My previous Dell laptop had a great feature called Unobtrusive mode. By pressing Fn+B it would turn the screen off as well as keyboard and touchpad. Although I was unable to mimic the whole behavior, you can assign this command as a keyboard shortcut in Gnome to disable the screen upon pressing the Fn+B combination:
xset -display :0.0 dpms force off
Summary
I was kinda surprised with the amount of tuning required to make this laptop work with Ubuntu. I always considered Lenovo to be Linux friendly, especially that it is a brand loved by many programmers. On the other hand, maybe that's exactly the reason why they didn't put too much effort into making sure everything works out of the box. We're programmers - we can fix that stuff on our own ;)
Anyhow, enjoy your X1 Carbon as much as I do!
Picture taken from the Lenovo website
