Tag: ubuntu

Ubuntu 14.04 Gnome keyring (Seahorse) auto unlock when auto login

Seahorse doesn't unlock your keyring when you have auto login enabled. The funny thing is that even if you set up an empty password, you will still have to unlock it manually. Maybe it's a bug, maybe it's a security feature. Either way, if you have an encrypted LVM like I do, and you shutdown your computer when you don't need it having to unlock keyring each time can be a real pain in the ass. First you need to unlock whole system, then you skip login (because of the auto login), but you still need to unlock keyring.

Luckily there's a really simple solution to this:

Change your keyring password

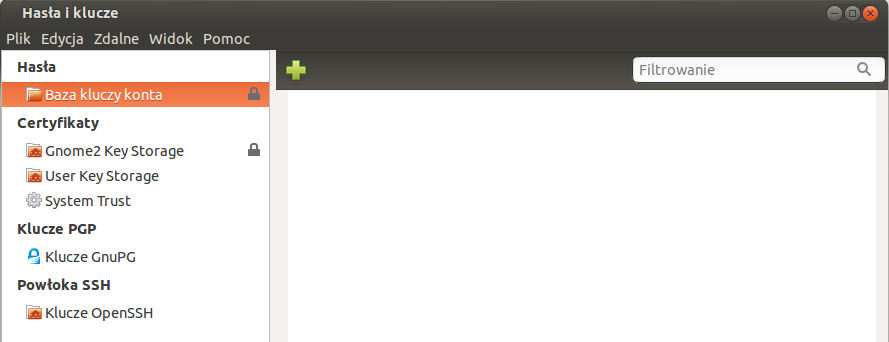
First, you need to change your keyring password. Use unique pass-phrase that you don't use anywhere else because it's going to be stored in plain text. To do this, press ALT+F2, type seahorse and press enter. You will see following window:

keyring1

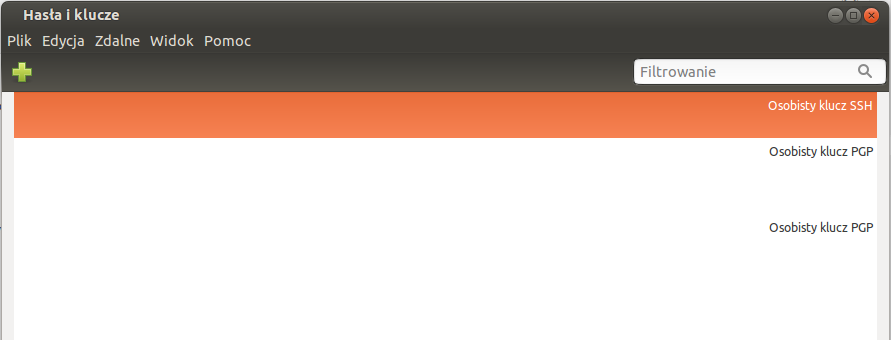
Go to View and select By keyring. You should see something like this:

keyring2Right click on Login Keyring (the first one) and Change password. Then just provide an old one (should be the same as you account password) and a new one.

Create a simple Python script

Now you have a new keyring password. To unlock it automatically, we will use a simple Python script, that will be executed each time you are auto logged in:

#!/usr/bin/python

import gnomekeyring
gnomekeyring.unlock_sync(None, 'your keyring password');

save it as a hidden file somewhere in your home directory (I used ~/.keyring).

Now add executing rights:

chmod +x ./.keyring

You can also execute it to check if it's working:

[~]$ ./.keyring 

If it doesn't you will see an error explanation:

[~]$ ./.keyring
Gkr-Message: secret service operation failed: The password was invalid
Traceback (most recent call last):
  File "./.keyring", line 3, in <module>
    gnomekeyring.unlock_sync(None, 'PyGaCQbiacPUPgFcJrwjIsEcz');
gnomekeyring.IOError

Add your keyring script to autostart (auto startup)

Just ffollow this article and in a command field put: /home/mencio/.keyring

That's all. After that, you should have automatically unlocked keyring after your auto login.

Running GitLab 7.1 using Puma instead of a Unicorn

Warning

Warning! Before you do this, please read why you should'nt: why did gitlab 6 switch back to unicorn?

So now, when

you-have-been-warned

let's get started...

Gemfile updates

Nothing special here. Just add:

gem 'puma'

and then:

# From /home/gitlab/gitlab
sudo bundle install --no-deployment
sudo -u gitlab -H bundle install --deployment --without development test postgres

Puma config

Create a puma.rb file in your gitlab config dir and copy/paste this:

app_path = File.expand_path(File.dirname(File.dirname(__FILE__)))

rails_env = ENV['RAILS_ENV'] ||  'production'
environment rails_env

threads 4, 32
workers 2

daemonize true
bind                 "unix://#{app_path}/tmp/puma/sock"
state_path           "#{app_path}/tmp/puma/state"
pidfile              "#{app_path}/tmp/puma/pid"
activate_control_app "unix://#{app_path}/tmp/puma/ctlsock"
stdout_redirect      "#{app_path}/log/puma_access.log", "#{app_path}/log/puma_error.log"

preload_app!

and

mkdir /home/git/gitlab/tmp/puma

At this point, you should be able to execute puma worker:

# You should execute this from a git user
cd /home/git/gitlab && exec bundle exec puma -C /home/git/gitlab/config/puma.rb

[4419] Puma starting in cluster mode...
[4419] * Version 2.9.0 (ruby 2.1.2-p95), codename: Team High Five
[4419] * Min threads: 4, max threads: 32
[4419] * Environment: production
[4419] * Process workers: 2
[4419] * Preloading application
[4419] * Listening on unix:///home/git/gitlab/tmp/puma/sock

Init Script

To manage my Pumas I use Jungle. You can read more about it here. From this point, I assume that you have figured out a way to autostart GitLab Puma process (if not, you'll have to start it each time manually - good luck!).

Unfortunately it is not all. Default GitLab init script (provided with GitLab sources) will try to run Unicorn, so we need to silent it (but we need to keep the Sidekiq part).

To do so, we have to change the /etc/init.d/gitlab script.

start_gitlab() method (line 165) - we have to comment the else case:

  # Then check if the service is running. If it is: don't start again.
  if [ "$web_status" = "0" ]; then
    echo "The Unicorn web server already running with pid $wpid, not restarting."
  # else
    # Remove old socket if it exists
    # rm -f "$socket_path"/gitlab.socket 2>/dev/null
    # Start the web server
    # RAILS_ENV=$RAILS_ENV bin/web start
  fi

wait_for_pids() method (line 78) - we have to remote the first condition from while loop. We no longer check for web_server_pid_path:

wait_for_pids(){
  # We are sleeping a bit here mostly because sidekiq is slow at writing it's pid
  i=0;
  while [ ! -f $sidekiq_pid_path ]; do
    sleep 0.1;
    i=$((i+1))
    if [ $((i%10)) = 0 ]; then
      echo -n "."
    elif [ $((i)) = 301 ]; then
      echo "Waited 30s for the processes to write their pids, something probably went wrong."
      exit 1;
    fi
  done
  echo
}

There are some other places that you could modify - so you would not get any warnings, but hey! Those are just warnings. What I did above is an absolute minimum for starting/stopping Sidekiq without any Unicorn errors.

Nginx server block

And an example Nginx server block (virtual host) config:

upstream git.server.name {
  server unix:///home/git/gitlab/tmp/puma/sock;
}

server {
  server_name git.server.name;
  client_max_body_size 32M;

  keepalive_timeout 5;

  root /home/git/gitlab/public;
  access_log /var/log/nginx/git.server.name.access.log;
  error_log  /var/log/nginx/git.server.name.error.log;

  location / {
    proxy_set_header X-Forwarded-For $proxy_add_x_forwarded_for;
    proxy_set_header Host $http_host;

    if (-f $request_filename) {
      break;
    }

    if (!-f $request_filename) {
      proxy_pass http://git.server.name;
      break;
    }
  }
}

After that - you are ready to go! Good luck!

Copyright © 2024 Closer to Code

Theme by Anders NorenUp ↑